
Photoshop full tutorial: from underexposed to a usable shot (Part 1)
Hi there, we inaugurate here today a series of Photoshop tutorials with a start-to-finish photo retouch of an underexposed photo.
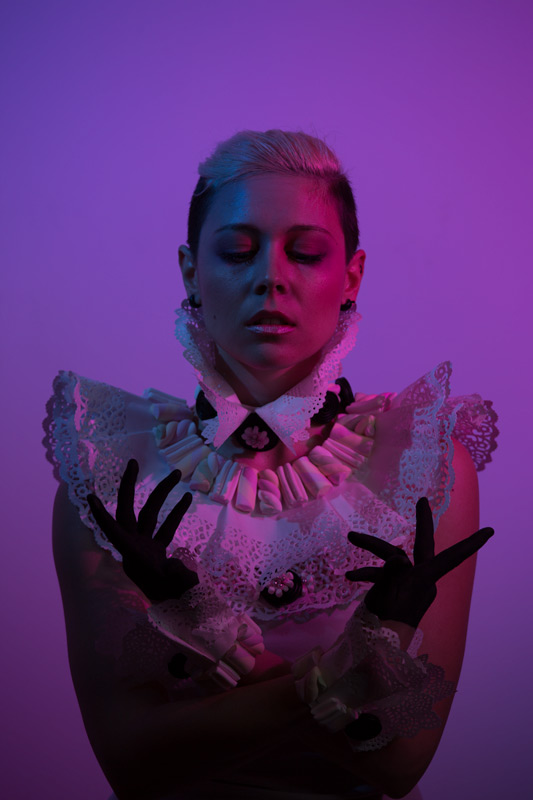
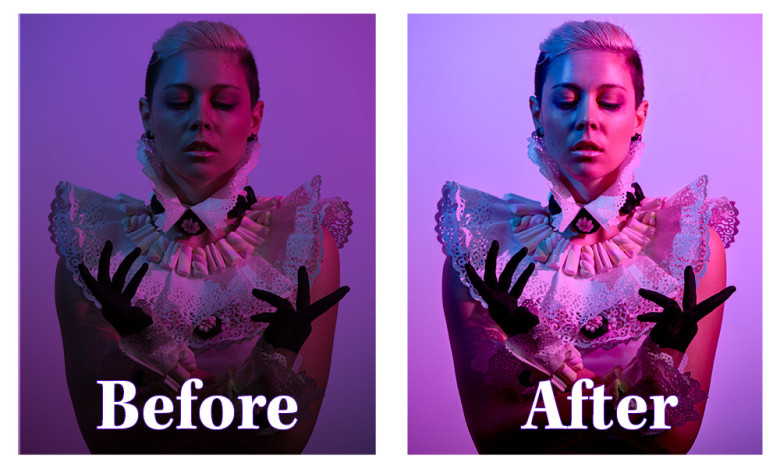
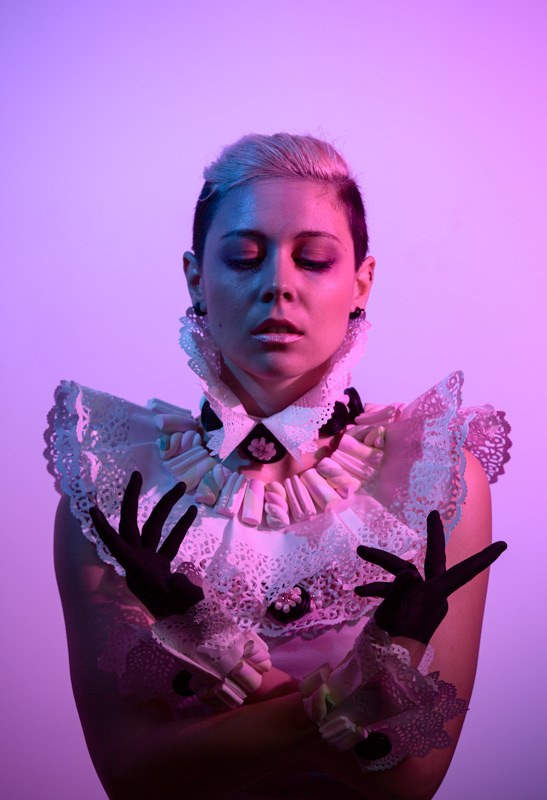
Starting with the underexposed image
I took the original picture during a fun photoshoot but my main light didn’t trigger so the whole scene got only lit by the atmosphere lights.
The light setup is quite simple, two speedlites aimed at the wall behind Marta. The one on the left with a blue gel and the one on her right with a purple gel.
For this shot in particular the speedlites were turned a bit more towards Marta so to spill light on her and create the split lighting you see in the image.
Now let’s get to the retouch process and go through it step by step.
RAW Conversion
Performing a three layers RAW conversion
First step is to import the RAW file into Photoshop and open it into Camera RAW.

First RAW Conversion
In Camera RAW perform the initial adjustments according to you taste but do not forget to reduce the overall contrast of the image, we’ll be recovering if later.
Save the changes and go back to Photoshop.
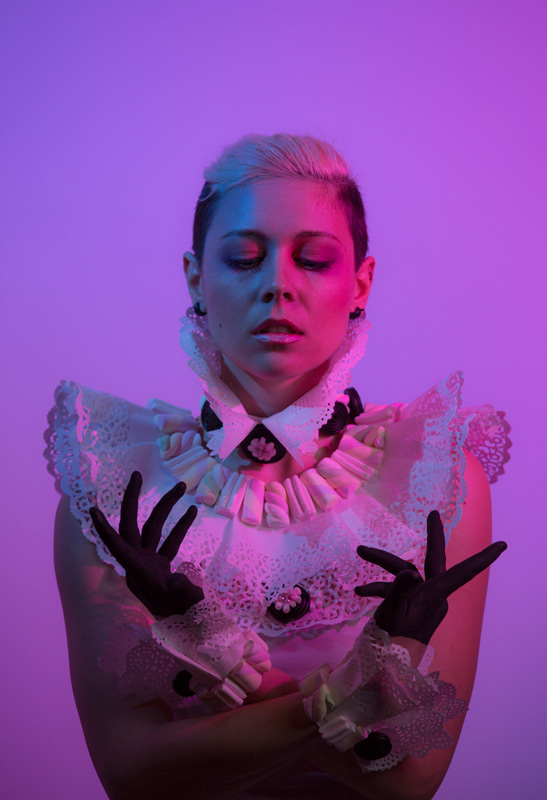
Effect of the first RAW Conversion
In Photoshop, make a copy of the RAW layer but don’t just duplicate the layer, user the “New Layer via Copy” command instead.
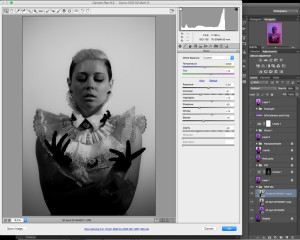
Now open it in Camera RAW. Convert the Image to black and white. Open the “HSL/Grayscale” tab.
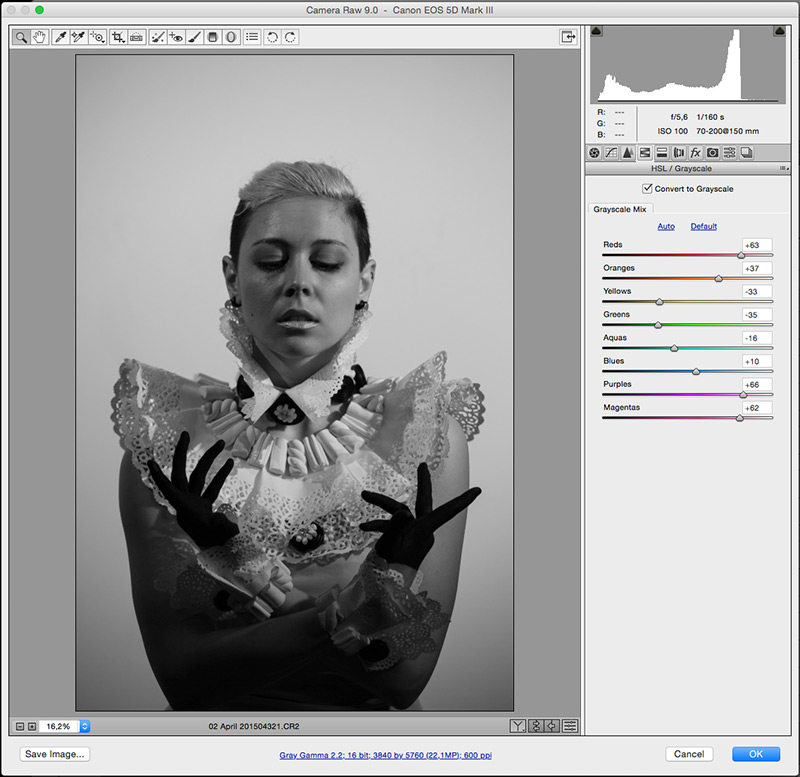
Second RAW Conversion
Adjust the image colours according to the image and your needs. Here I decided to recover brightness keeping the right cheek brighter than the left.
In Photoshop, set the Layer bending mode to “Luminosity”.
The image will now look a bit more punchy and contrasty
Effect of the second RAW conversion
In Photoshop, make a copy of the Black And White RAW layer using the “New Layer via Copy” command.
Open it in Camera RAW.
Third RAW Conversion
From the “Basic” panel adjust the Highlights, Shadows, Whites and Blacks to increase the darkness of the image.
We will use this to lower the contrast created by the second RAW conversion layer using the blend modes.
Save the changes and go back to Photoshop.
Set the Layer blend mode to “Subtract”.
This is how the image looks now, see how the “Subtract” blend mode subtly reduces the grunginess of the previous conversion still we did not wash out all the colours which we want to keep for the overall mood of the image.
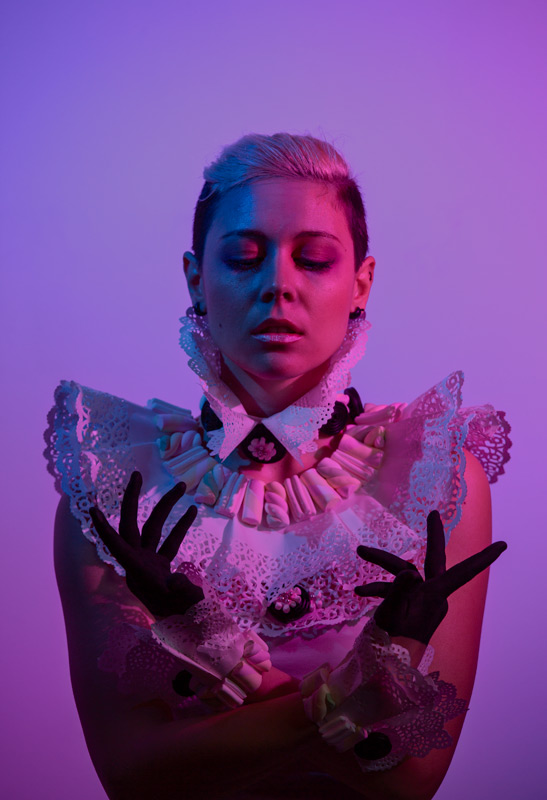
Effect of the third RAW Conversion